How to Start Custom T-Shirt Business in India | TeeShopper DropShipping

How to Start Merchandise Drop Shipping

Starting your own Merchandise not only brings extra income but also build the image of your brand. But the common problem we face in merchandise dropshipping is production, customer service, payments, etc. That’s where we come to solve this problem.

How to Start Merchandise Drop Shipping

TeeShopper does production, shipping and customer service and you keep the profit! So, you can focus on what’s more important to you.

Here are the steps to start your dropshipping business today –

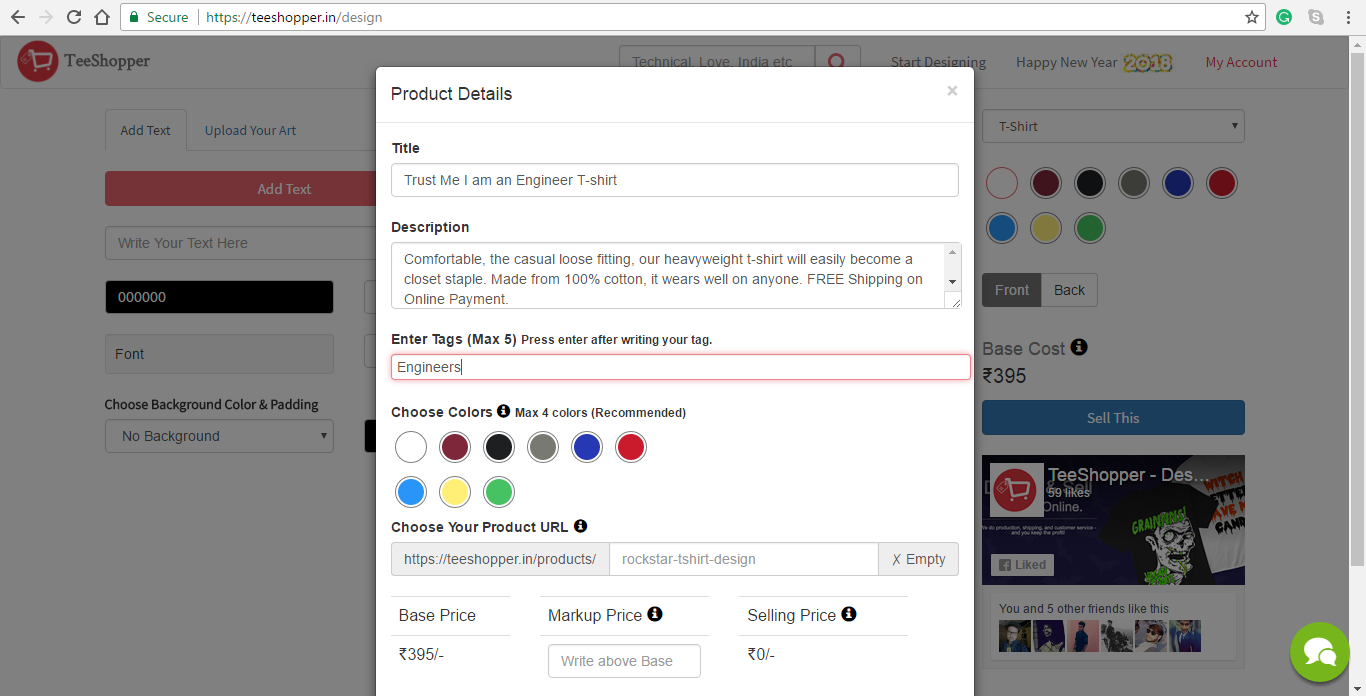
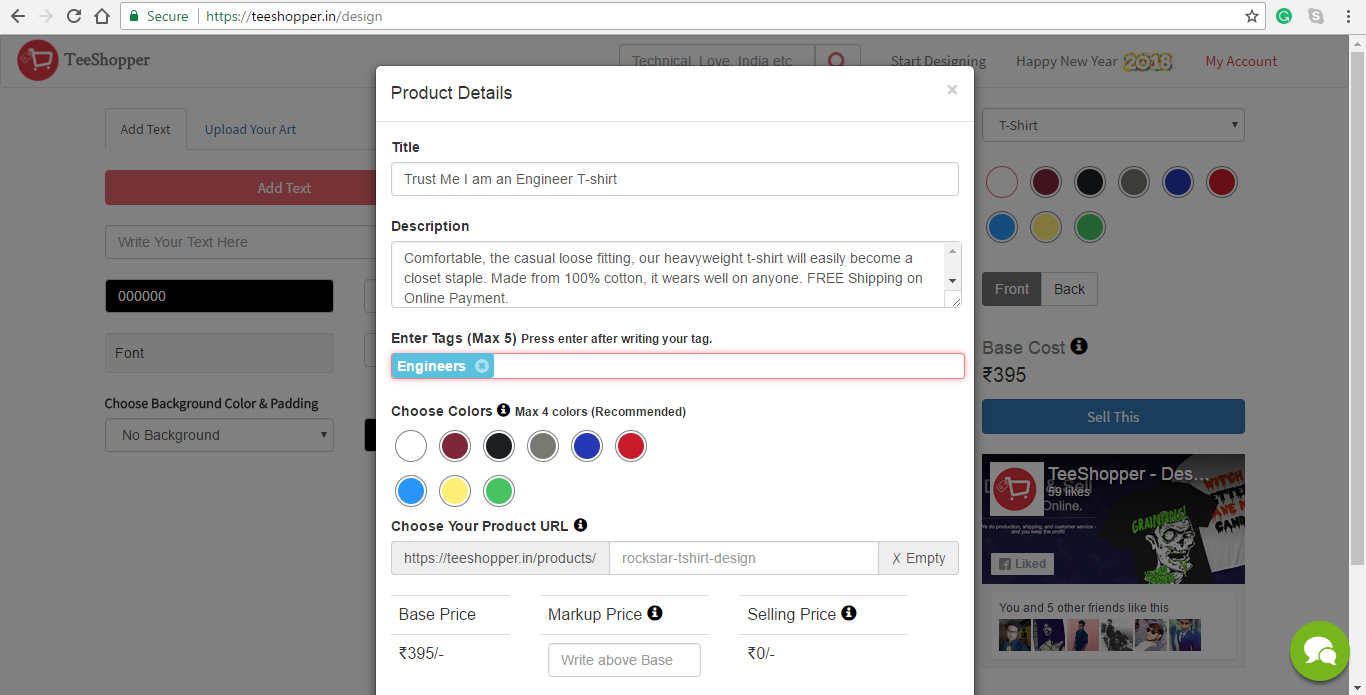
Step 1: Design Your Product

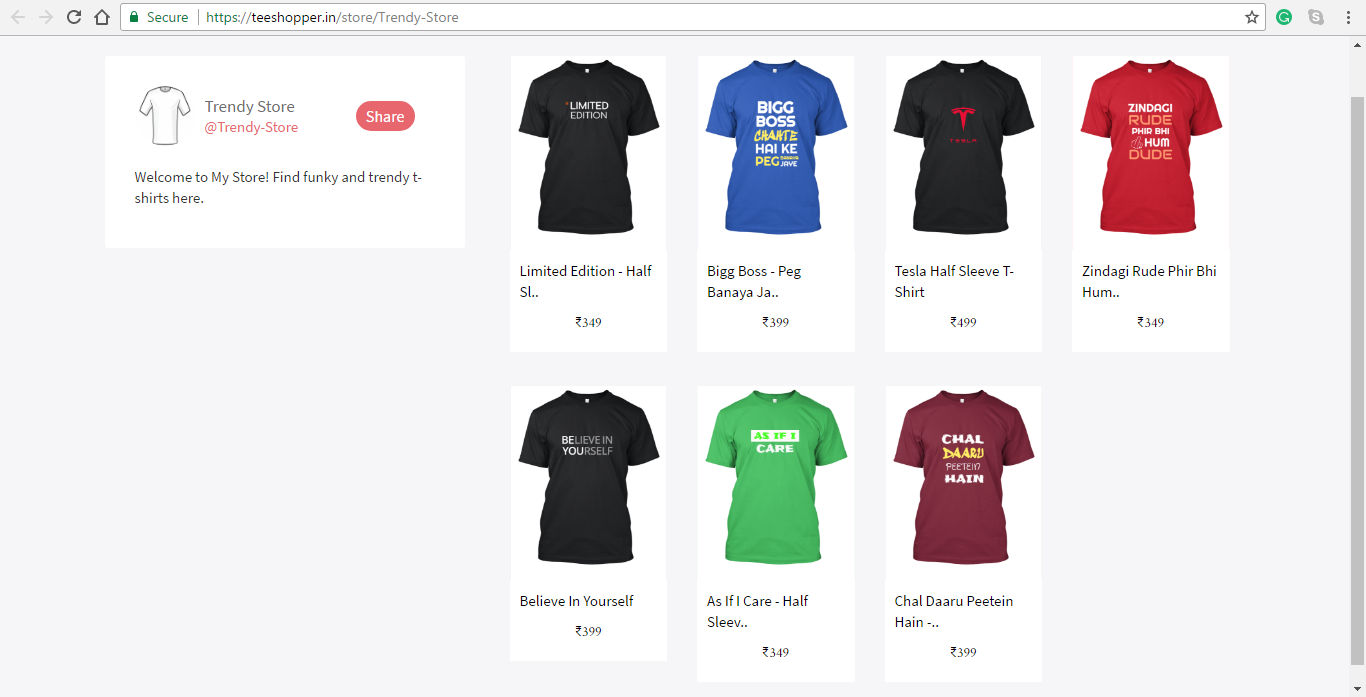
We have a large variety of products for men and women such as Half Sleeve Round Neck T-shirt, Full Sleeve T-shirt, V Neck T-shirt, Hoodies, etc. Choose your product on base of what your audience needed and you can start designing here.

We have awesome tools in our designing studio which helps you in designing products in a couple of minutes.

You can also draw here at famous website Sketchpad but make sure to create a transparent background and minimum width or height any side 1024px and upload it in our designing studio

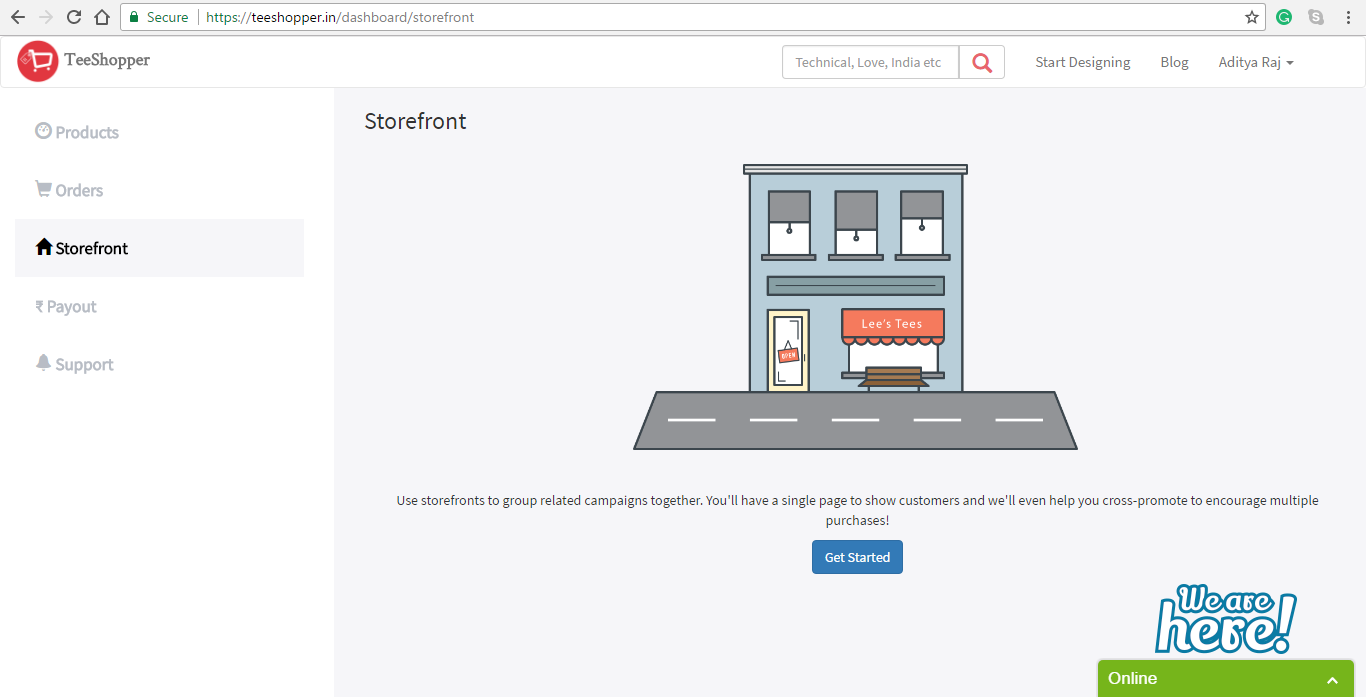
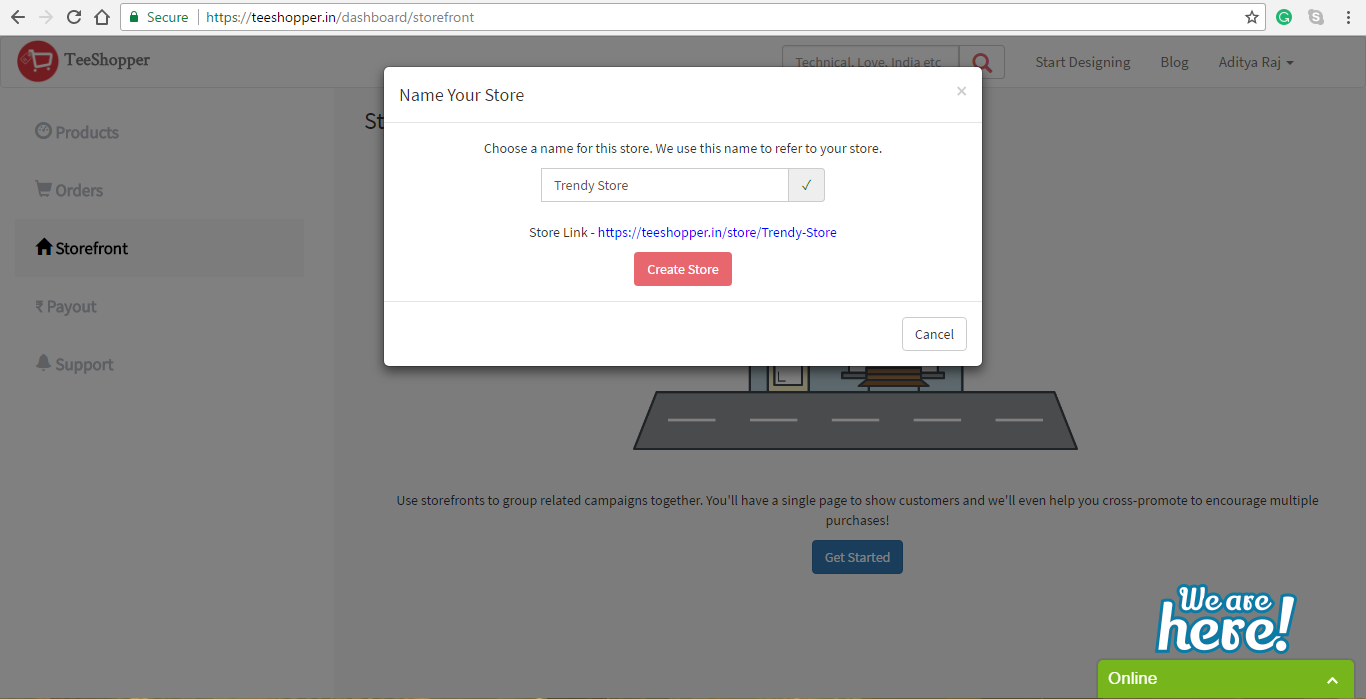
Step 2: Do Promotion

The sky is the Limit! You can start promoting your merchandise on your existing platform where you have your audiences such as YouTube, Facebook, Instagram or even WhatsApp.

Many marketing tools are available on our platform such as Coupons system, Generating HQ Mockup Images, etc which increases the conversion rate significantly.

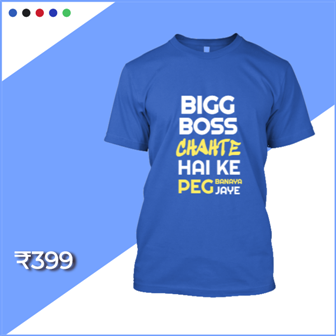
If you don’t have an audience then you can start with a niche market such as design products for engineers, doctors, lawyers or student, etc do Facebook Ads.

Click on this link for the complete tutorial about Facebook promotion.

Step 3: Getting Your Orders

Getting orders is one of the best moment which proves that your hard work is worth.

We give top priority to the orders processing system for smooth experience from the checkout page to delivery.

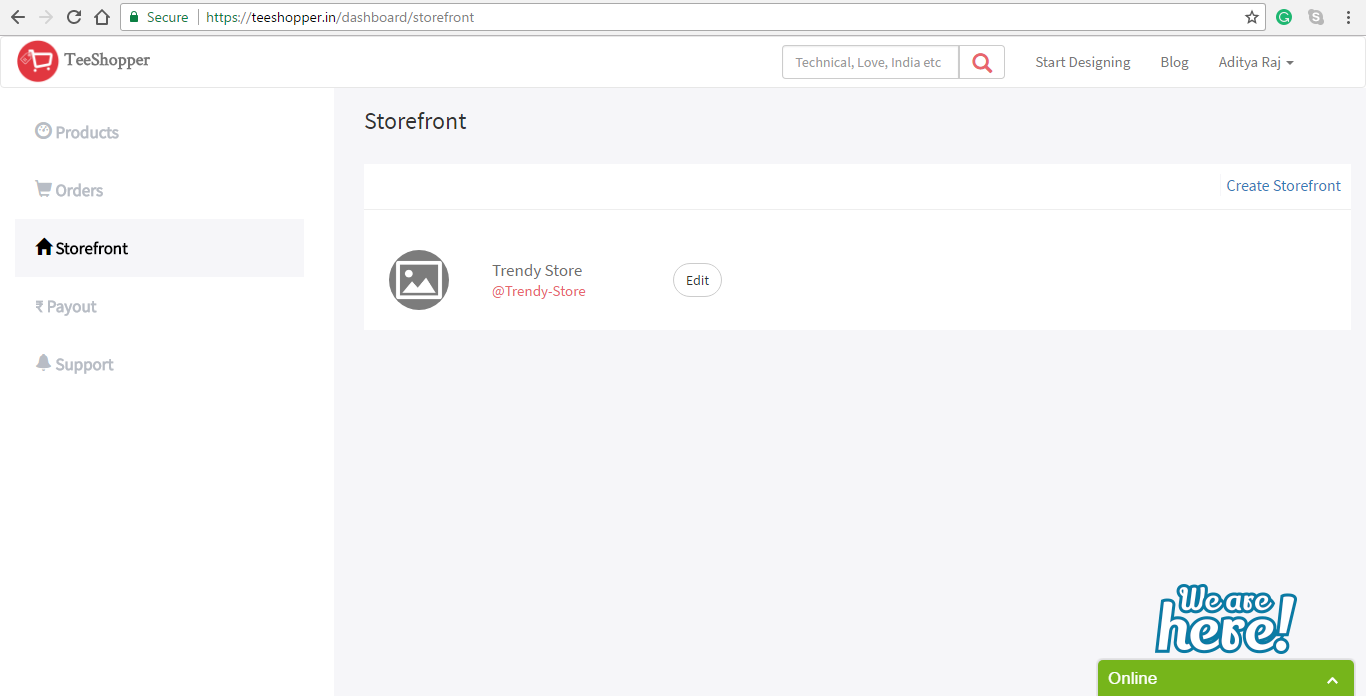
All the useful analytics to grow up your dropshipping business such as total successful orders, conversion rate, profit per order, etc is provided on your Dashboard > Products section.

Analytics Image
Screenshot of Analytics Page

Step 4: Payout

Your payout amount will be visible after 2 days of successful delivery which you can request after earning min INR 500.

We provide Bank Transfer and PayTm as a payment method for payout.

Go to your account > settings then add your payment method details for fast payout experience.

Conclusion

You may get success very fast or maybe you need to work on design and marketing more. Success comes only after you understand the market better than your competitors.

There is no way to understand the market other than to jump it in and give 100% of yourself.

Start Designing

How to Add Tags to your Product Design?

Tagging is one of the most important ways to rank your design in Google or TeeShopper search results. Tags help users find your design when they search on Google or in TeeShopper. When users type keywords related to your tags your product design will appear in their search results.

Steps:

  1. After completing your design click on Sell This button which is on the right side below Base Cost.
  2. A dialog will appear, fill the details like title and description then click on tag box.
  3. Write any word related to your design. Ex – If I have made a t-shirt for engineers so I can give tag like “Engineers”, “IIT”, “computer”, “electrical”, “civil”, “mechanical”, “science”, etc.
  4. After writing any tag hit the enter button which is on your keyboard.

See the below pictures –

Write the Tag
Write the Tag

Hit The Enter Button

Voila, It is added. Repeat the same to add more tags like this.

Cheers,

TeeShopper

Introducing Storefront – A Store for All Your Designs

We would like to introduce you our new Storefront. Now, you can list all your designs on one single page and have a custom name and URL. And easily share your store link with your buyers.

Recently, our study found that people visiting storefront are more likely to buy your products compare to single links.

Here are the steps you can follow to create your own online store –

  • Click on Blue Get Started Button and enter your desired store Name.

  • I design Trendy T-shirts, so I gave my Store name “Trendy Store” But you can give any name that you want to share to world.
  • You can see in image there’s a green tick beside my store name, it means store name is not taken by anybody else and now you can click on Create Store Button.

  • Voila, you have created your first Store. You can create more stores if you want by clicking on blue Create Storefront Link which is on top right side and follow the same above procedures.
  • Now, Add Logo and Description of your store by clicking on Edit button which is in right side of your store name.

Add Products To Store

  • Click on Add/Edit Button and your all Designed products will be visible below.

  • All my designed t-shirts are visible now. Now, I have to click on those products only which I want to have in my store.
  • I will click on my products according to how I want it in my store. For example –  I want my “Limited Edition” T-shirt to be in first position of my store so I will click it first.

  • Here, you can see I have chosen my products. And now, I will click on Save Changes button.

Now my Trendy Store is ready to share, where’s yours? Comment Below.

Create your Storefront now.

Thank You.