How to Promote Your TeeShopper Products on Facebook

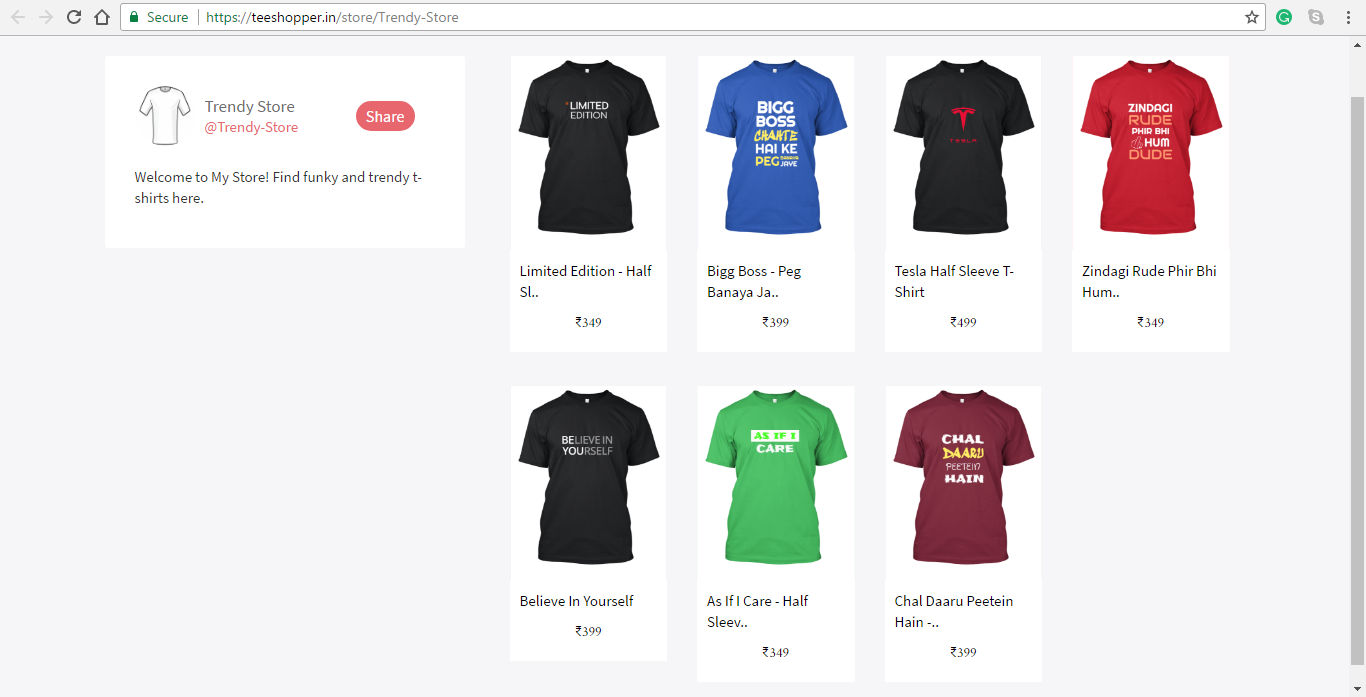
After designing an awesome t-shirt, it’s time to show to the world. Facebook is the most popular social media in India which have the biggest audience for your product, let’s see how we can use this to sell our products easily.

Here are the few steps you need to follow to start selling t-shirts through Facebook.

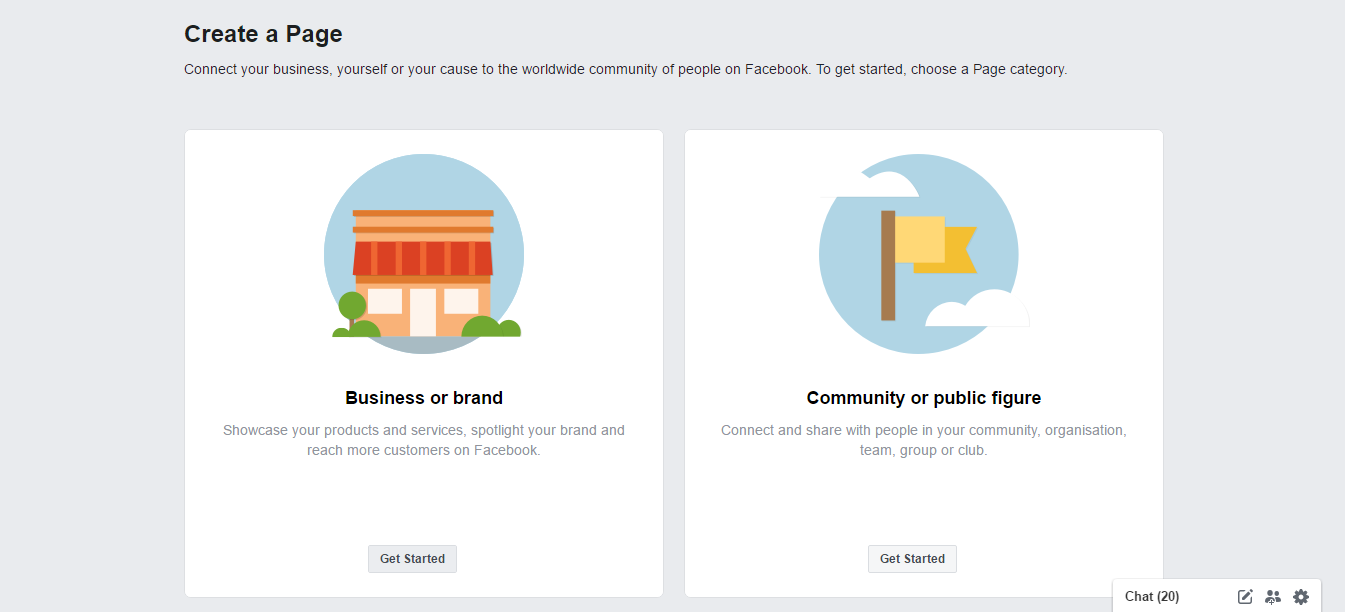
  • Create a Brand – Facebook Page

To promote your products through Facebook you need to create a Facebook page with your own brand name.

Click on Get Started button under Business or brand
Write Brand/Page Name and Page Category

Now, something we like to tell you which can make help you to sell your t-shirts like a pie. Before creating a brand, think your awesome designed t-shirts belongs to whom? Who is your audience?

Click HERE to read a small post about this to know more.

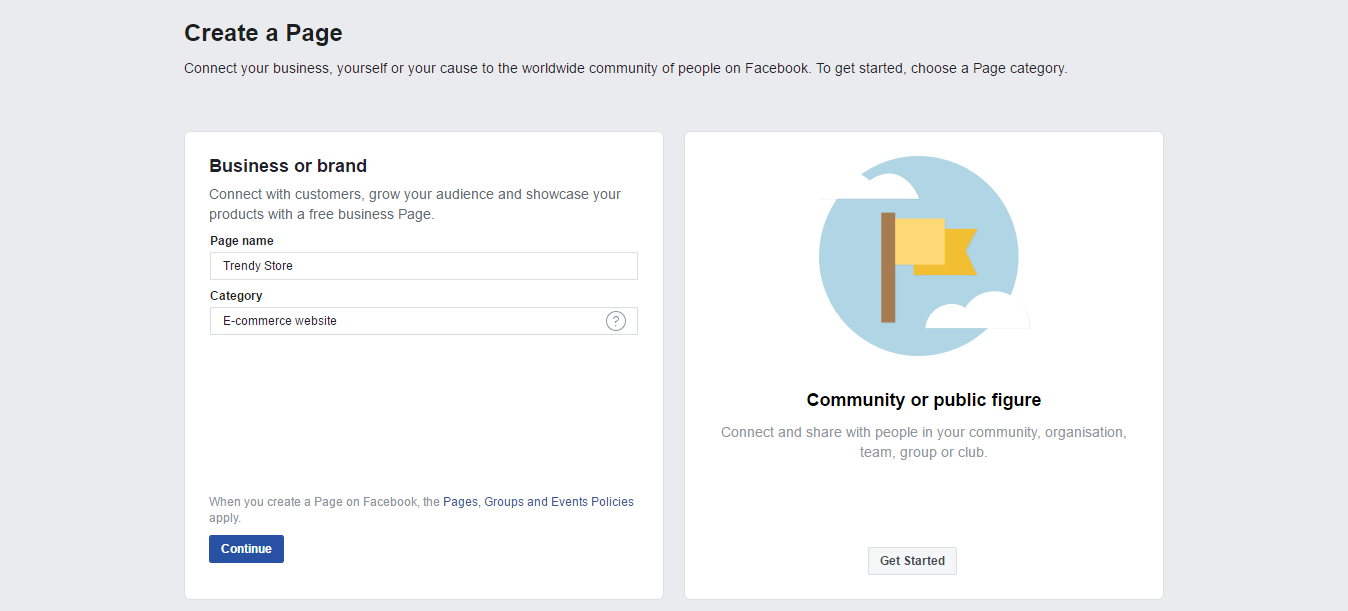
Create your Facebook page according to your audience like t-shirts for Engineers, Doctors, Architect, Student, Couples or for any other community.

Give your brand name according to your audience category, like for Doctors you can give any name which is familiar in the doctor’s community. Don’t mix all t-shirt design under one brand name. You can create multiple FB pages for multiple communities.

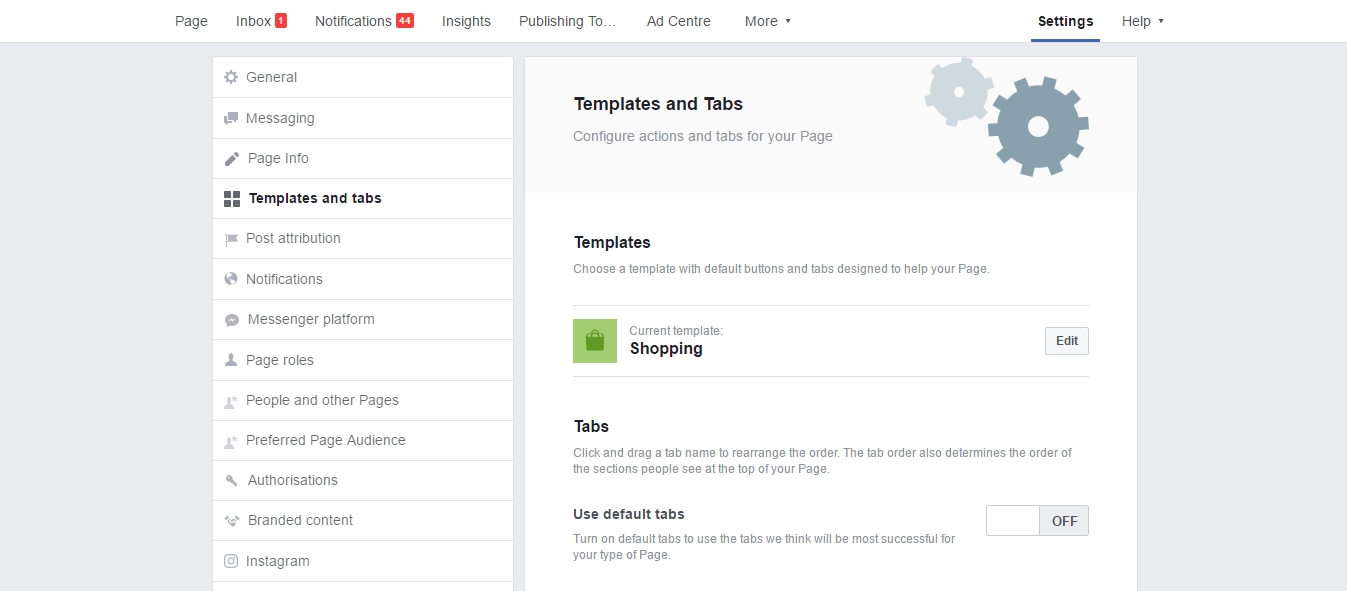
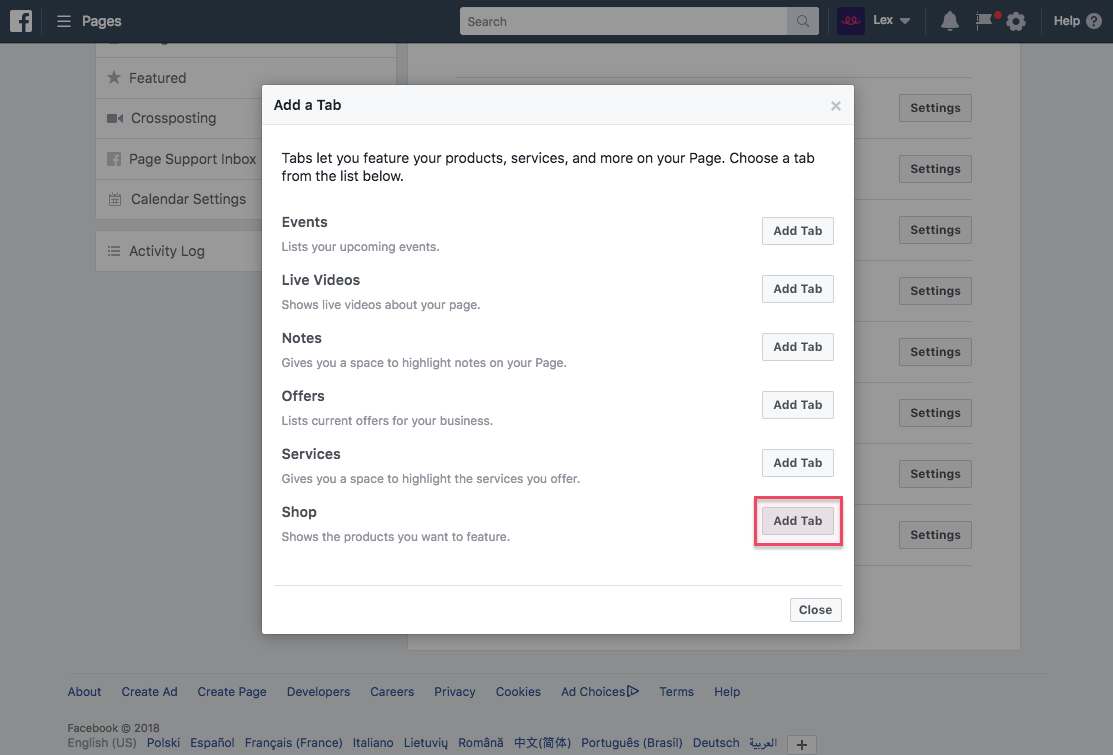
  • Add Shop Tab to Your Facebook Page

After creating your page, go to the Settings section of your page and Click on ‘Templates and tabs’ then scroll down and click ‘Add a Tab’ button.

Click on Templates and tabs then scroll down and click Add a Tab button
Click on Add Tab which is next to Shop
  • Redirect to Your Product Page

Now, a popup will appear and it will ask whether you want the customer to place an order by messaging you or directly to your website. You Choose ‘Checkout on another website’

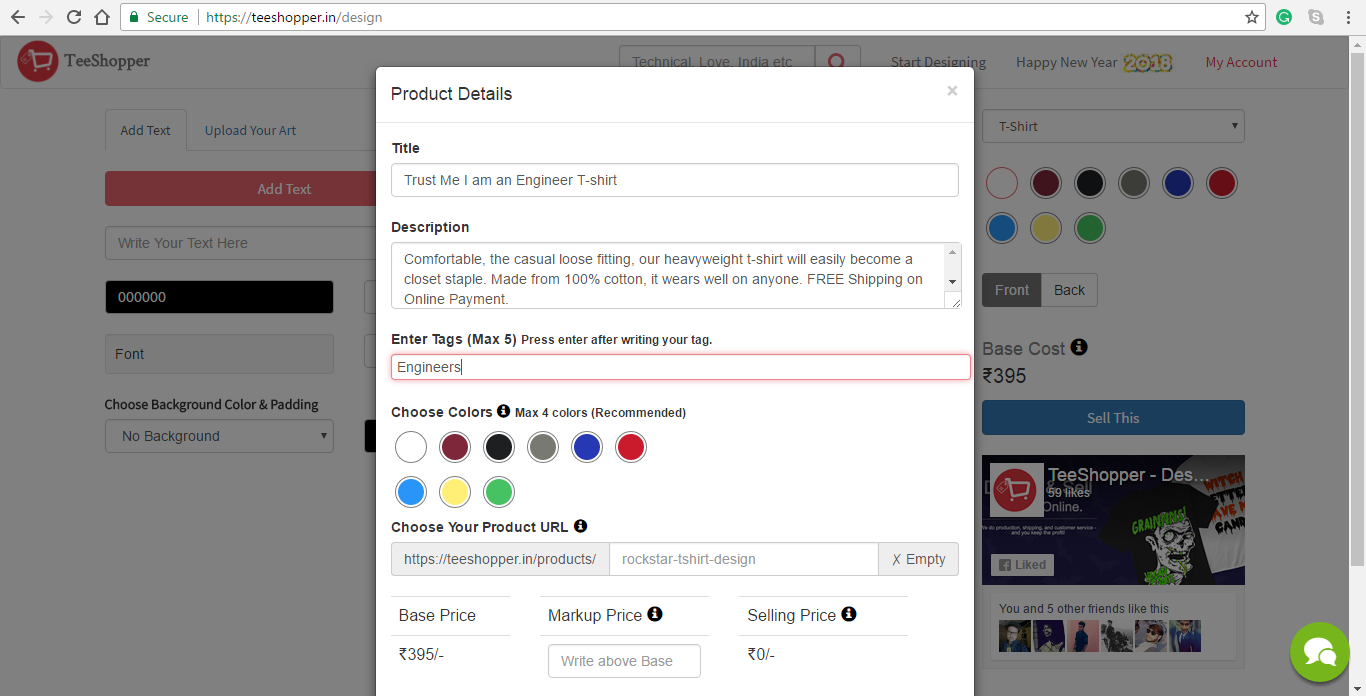
  • Add Products to Your Shop

Your Facebook Shop is almost completed and now start adding TeeShopper Products.

Click on Add Products Button

A popup will appear and it will ask basic details of your TeeShopper Product.

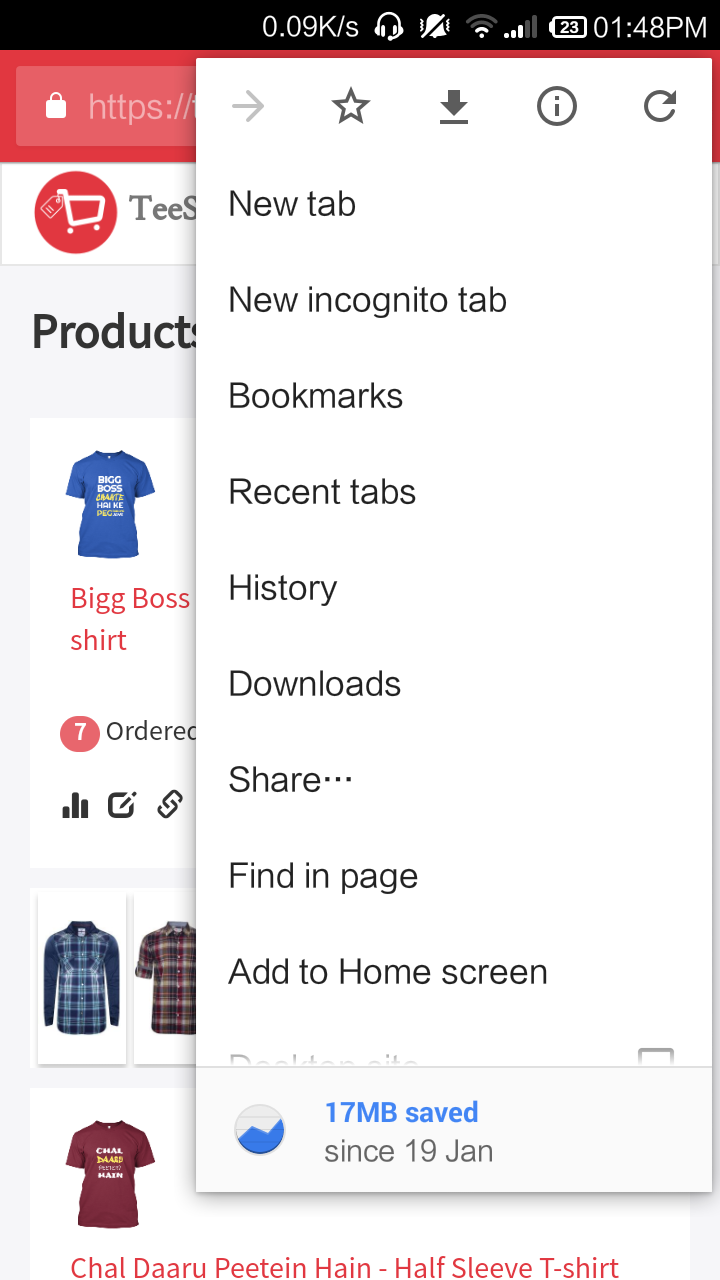
In Checkout URL, copy and paste the link of your product from TeeShopper Products section which you can see after login or URL box of your browser and hit save button.

Voila! You just published your First TeeShopper Product on your very own Facebook Shop.

Preview of Facebook Checkout

After clicking on ‘Check Out on Website’ Button, Facebook will redirect to your given TeeShopper Product Page Link for placing the order.

You can start now using Facebook paid Boost Option to gain traffic for your product and gain more sales or alternatively, you can share the products to your Facebook friends also for free with your own brand name now.

Tips :

  • Upload a nice high-quality PNG logo for your Facebook Page
  • Give your brand/page Name which can be remembered easily by your targeted audience
  • Sometimes a cool post or Meme can get more engagement and likes to your page which can help you to reach more people
  • Be active on Messenger
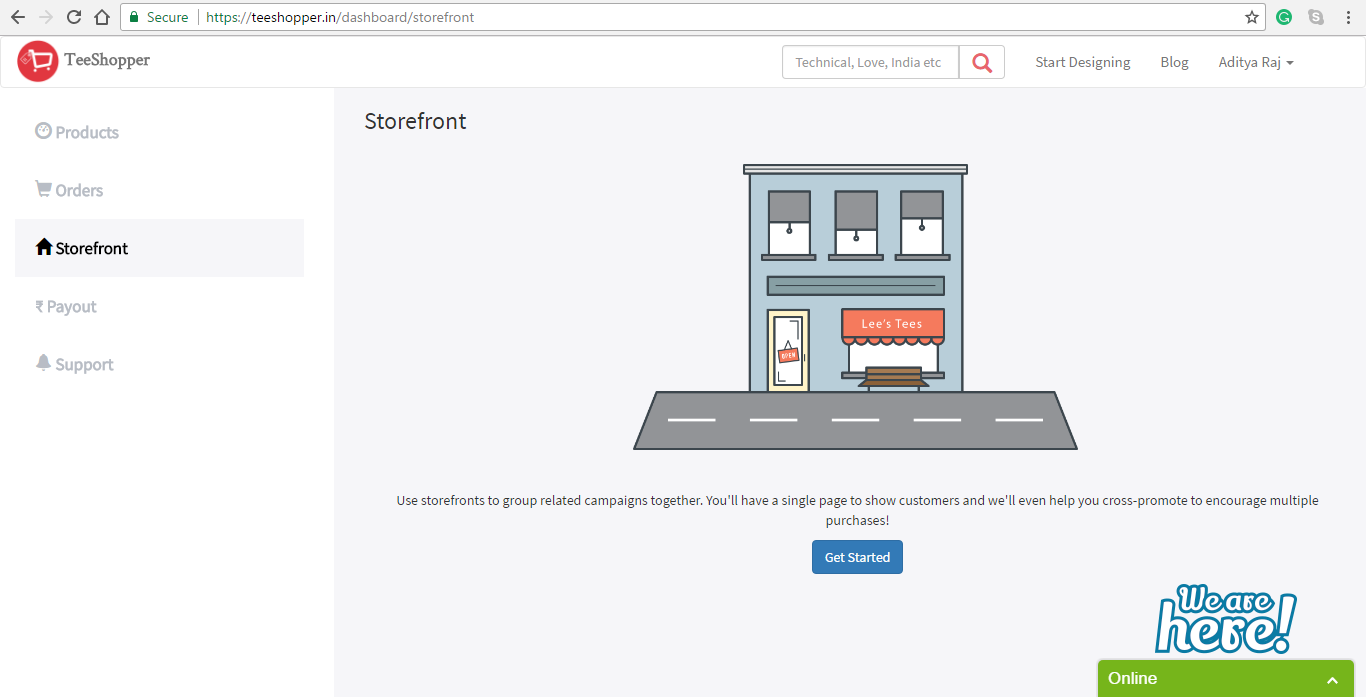
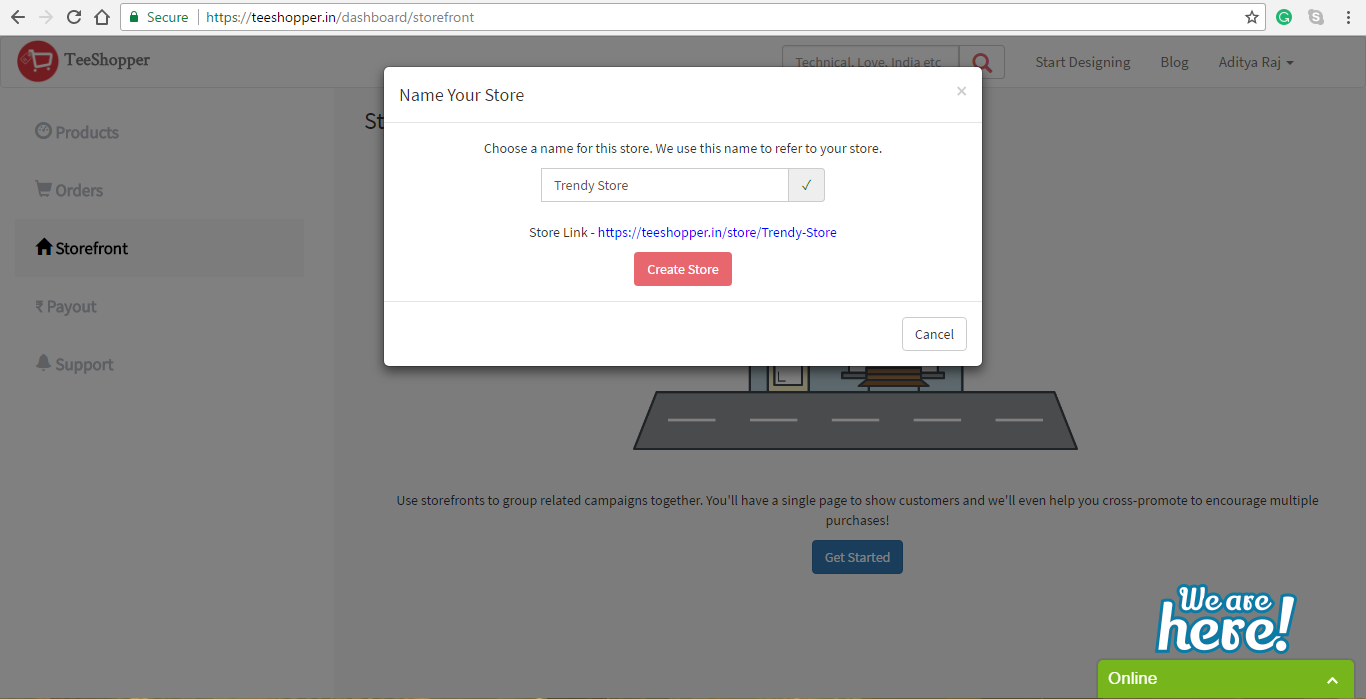
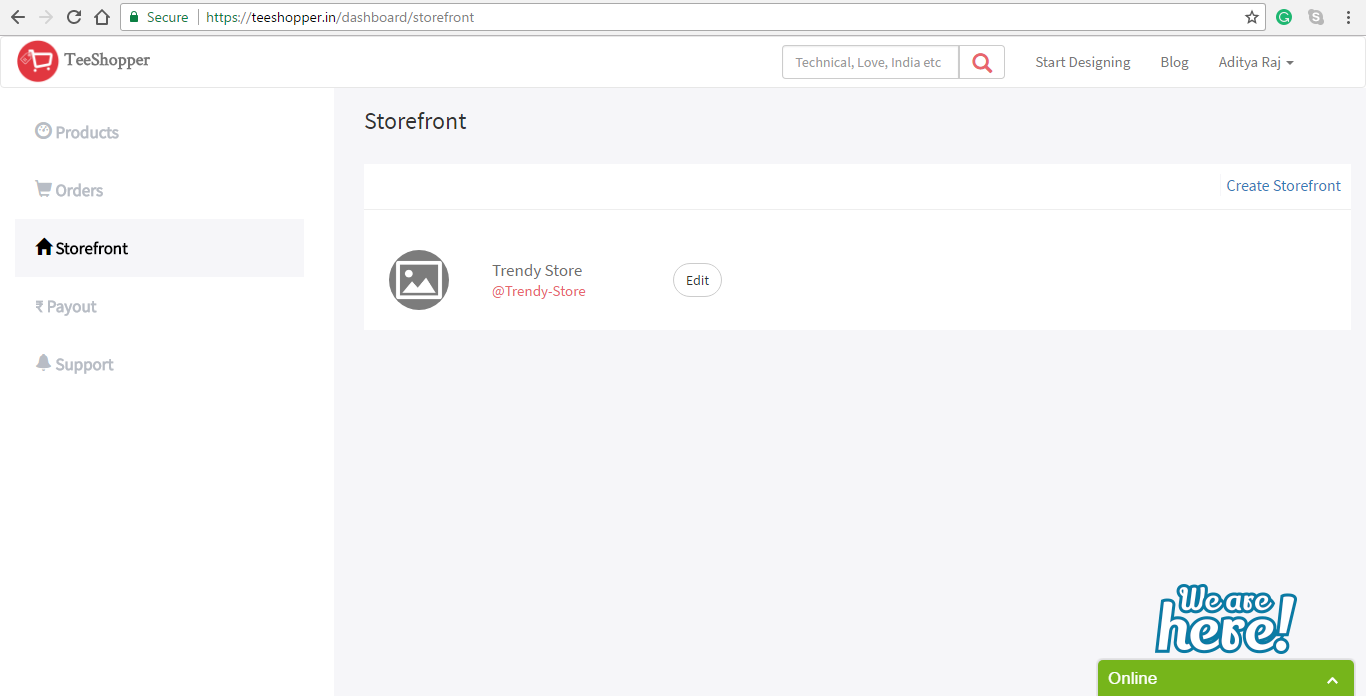
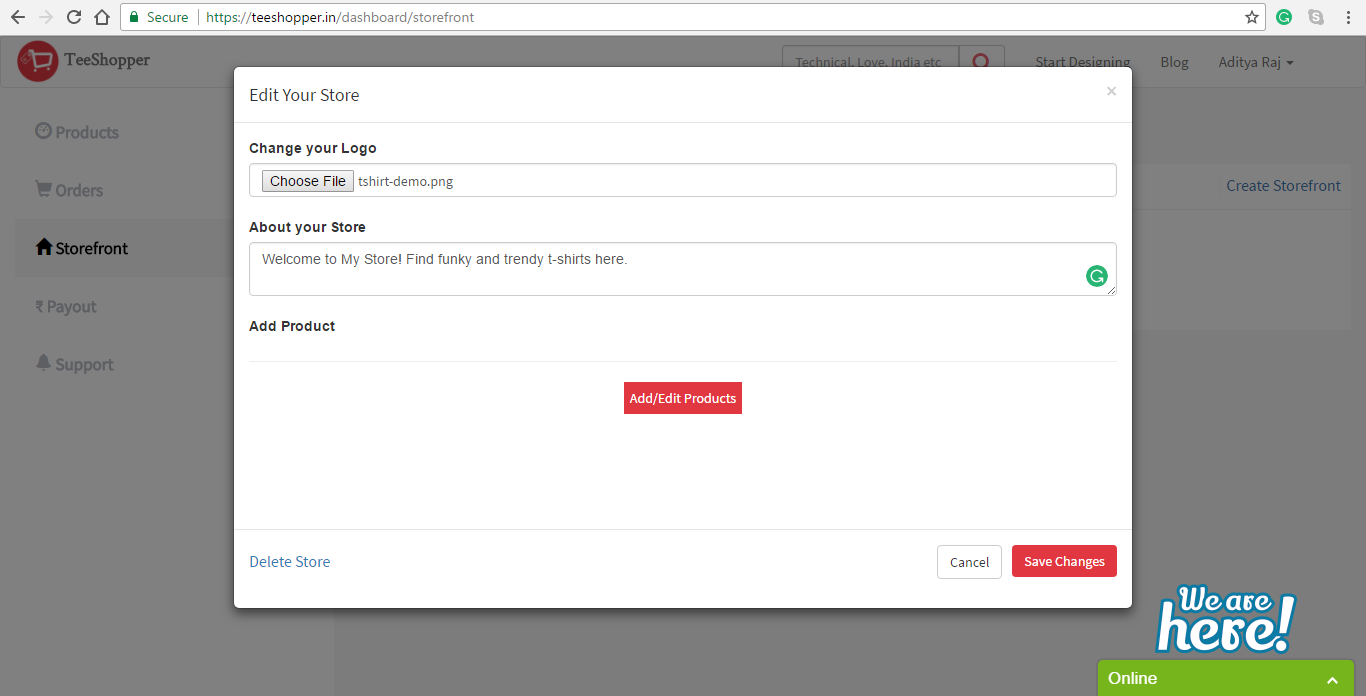
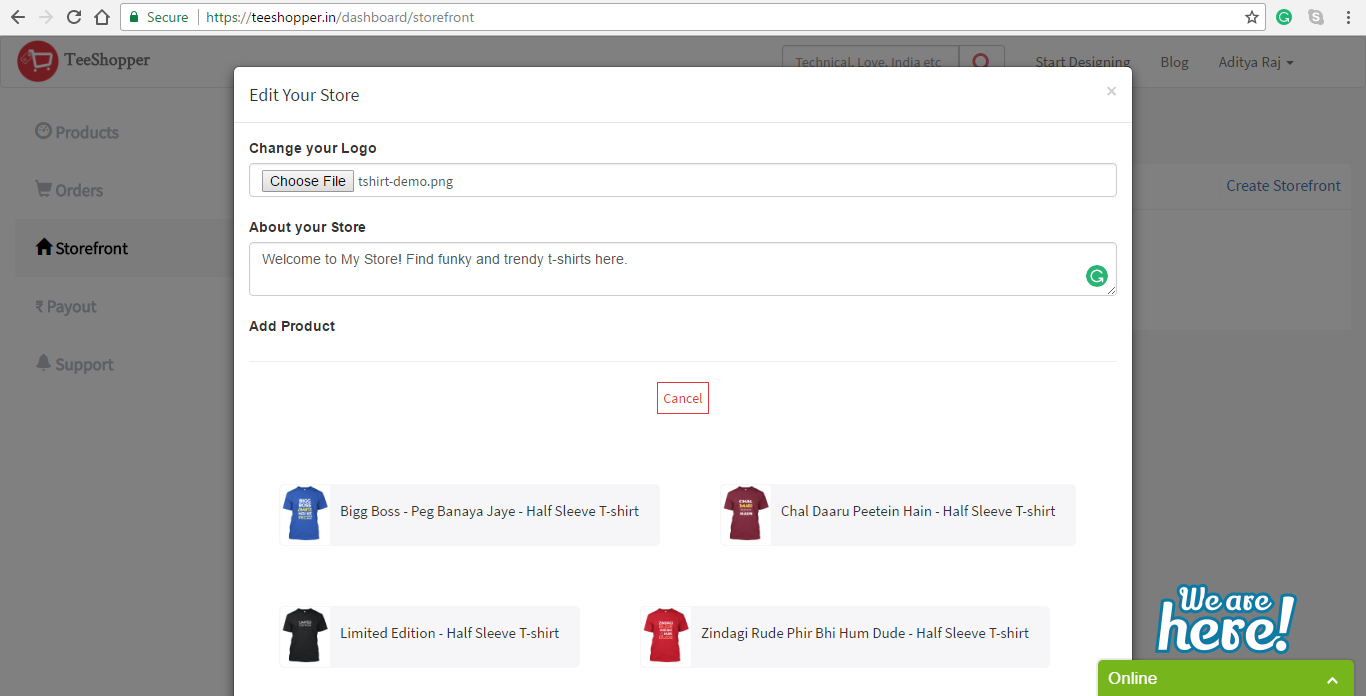
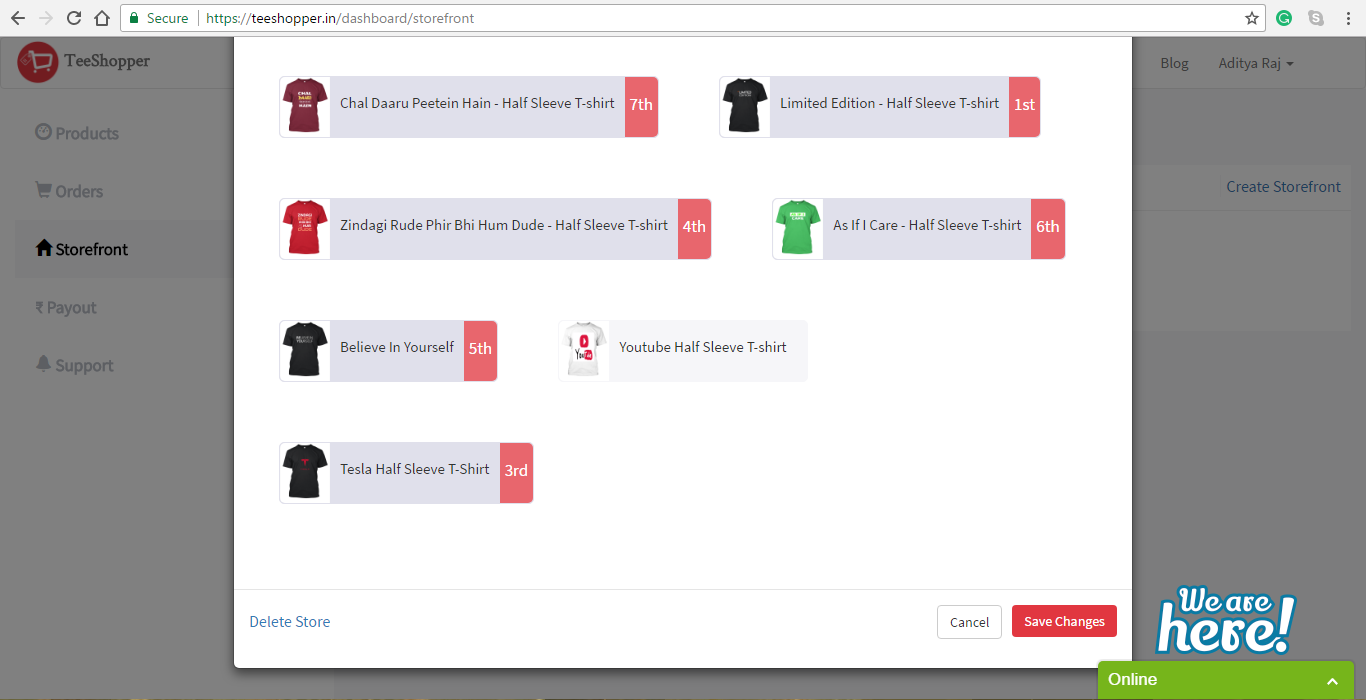
  • Create Storefront on TeeShopper and give storefront link in General description and website link option of FB page.

Good Luck, if you have any questions you can ask below in comments.

Add to Homescreen – TeeShopper Dashboard

Hi, If you are new to TeeShopper then you must first login and create an awesome design at our designing studio.

Click here for a guide to understand what design you should create that your buyers will love it.

Okay, for our existing users here’s an amazing feature of Chrome browser and after getting a huge demand for the app. Here is a solution –

  • Open Chrome browser on your smartphone and navigate to https://teeshopper.in
  • Click on three lines that are on the top right side and click on My Account.

Home Page

  • Login Page will appear then tick the “Remember Me” checkbox and log in with your credentials.
Login - Tick the Checkbox
Tick the Checkbox
  • You will be redirected to your Dashboard. There you have to click on three vertical dots that are on the top right side of Chrome Browser.
Click on Chrome Menu Option
  • After that Click on “Add to Home Screen” Option. A popup will come for confirmation, click on “ADD” button and it’s done.
Click on Add Button
Click on Add Button

Open your app menu and there you will find TeeShopper App icon. Now, track your sales, stats, orders or create storefront right on your smartphone without logging, browsing, or opening chrome app again.

Cheers,

TeeShopper

How to Add Tags to your Product Design?

Tagging is one of the most important ways to rank your design in Google or TeeShopper search results. Tags help users find your design when they search on Google or in TeeShopper. When users type keywords related to your tags your product design will appear in their search results.

Steps:

  1. After completing your design click on Sell This button which is on the right side below Base Cost.
  2. A dialog will appear, fill the details like title and description then click on tag box.
  3. Write any word related to your design. Ex – If I have made a t-shirt for engineers so I can give tag like “Engineers”, “IIT”, “computer”, “electrical”, “civil”, “mechanical”, “science”, etc.
  4. After writing any tag hit the enter button which is on your keyboard.

See the below pictures –

Write the Tag
Write the Tag
Hit The Enter Button

Voila, It is added. Repeat the same to add more tags like this.

Cheers,

TeeShopper

Introducing Storefront – A Store for All Your Designs

We would like to introduce you our new Storefront. Now, you can list all your designs on one single page and have a custom name and URL. And easily share your store link with your buyers.

Recently, our study found that people visiting storefront are more likely to buy your products compare to single links.

Here are the steps you can follow to create your own online store –

  • Click on Blue Get Started Button and enter your desired store Name.

  • I design Trendy T-shirts, so I gave my Store name “Trendy Store” But you can give any name that you want to share to world.
  • You can see in image there’s a green tick beside my store name, it means store name is not taken by anybody else and now you can click on Create Store Button.

  • Voila, you have created your first Store. You can create more stores if you want by clicking on blue Create Storefront Link which is on top right side and follow the same above procedures.
  • Now, Add Logo and Description of your store by clicking on Edit button which is in right side of your store name.
Add Products To Store
  • Click on Add/Edit Button and your all Designed products will be visible below.

  • All my designed t-shirts are visible now. Now, I have to click on those products only which I want to have in my store.
  • I will click on my products according to how I want it in my store. For example –  I want my “Limited Edition” T-shirt to be in first position of my store so I will click it first.

  • Here, you can see I have chosen my products. And now, I will click on Save Changes button.

Now my Trendy Store is ready to share, where’s yours? Comment Below.

Create your Storefront now.

Thank You.

Start Online Store with TeeShopper – No Stock Needed

I am really excited to write this post. I have something really special to show you today. Something that no one else in the world has seen yet. Now, I and our a small team have been working really hard on a secret project, which is I’ve been known to do from time to time.

The feature I am going to introduce to you is gonna revolutionize an entire e-commerce industry. It’s a design listing feature. Okay.

We’ll get to that in a second. Becuase what it represents is as important as what it is. It’s a tool for the listings. And when you can list all your designs on one single page with your custom store name without any cost, risk or involvement of any physical thing then that’s limitless.

If I do say so myself, it’s insanely cool. It’s a storefront. It can have thousands of design on one single page as your own e-commerce store. I would like to introduce you Storefront on your dashboard and to know how to start or need a tutorial click here.


Cheers,

TeeShopper

Is your Design looking good on TeeShopper?

Yes, your design is looking good if you are ready to wear your design and go out with your friends & family.

How to design that everybody loves?

The answer is NO, nothing can be liked by all. Suppose, you are a teenager and likes bikes, gadgets, night party etc. This is common for all teenager but will this be same for your dad or for an older person?

Before designing, just think a little about these questions –

  • Who would like to buy your designed product?
  • Will they wear and feel proud?
  • Will they recommend to their friends?

When you find all answer then you are ready to design.

Always find a good niche like doctors, engineers, architect, lawyers, CA, lovers, students etc.

Get Ideas

Find good quotation on Google, follow big e-commerce facebook page, follow what your friends are liking on FB, and do whatever to be updated with trending designs and quotes.

Engineers Quotes - Google Search


After designing, share your design on social media like facebook, google plus and note how you are friends react and like your design.

After getting a good response, you can start the Facebook AD with a good budget.


Cheers,

TeeShopper